Our ConvertKit integration got a major upgrade…
This robust version of the integration enables more granular control over what happens in ConvertKit after a visitor successfully subscribes to a BDOW! form.
In addition to adding subscribers to a ConvertKit form, you can now:
- Add subscribers to a ConvertKit sequence
- Add tags to a subscriber in ConvertKit
This opens up the possibility for better segmenting and automations in ConvertKit!
Two important notes:
- This integration requires additional steps to set-up. But don’t fret—we’ve created step-by-step instructions for getting started.
- All existing ConvertKit integrations are still operational.
Wanna get started with the enhanced ConvertKit integration?
How to Integrate BDOW! (formerly Sumo) with ConvertKit
You’ll need to reconnect ConvertKit in order to use the enhanced ConvertKit integration. Don’t worry, your current ConvertKit integrations are still in place—but you’ll have to “disconnect” and reconnect in order to use the new integration features.
Key ConvertKit Integration Features
- Form Selection: Send subscribers to a form in ConvertKit
- Sequence Selection: Send subscribers to a sequence in ConvertKit
- Tag Selection: Tag subscribers in ConvertKit
Required ConvertKit Details
- Your ConvertKit API Key
- Your Secret ConvertKit API Key
To find your ConvertKit API Key and Secret API Key, follow these steps:
- Login to your ConvertKit account.
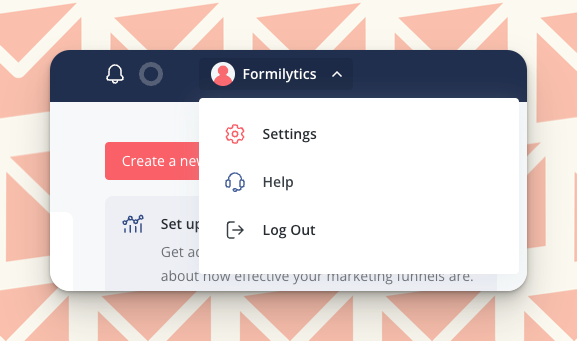
- Click your account name in top right corner and select Settings.
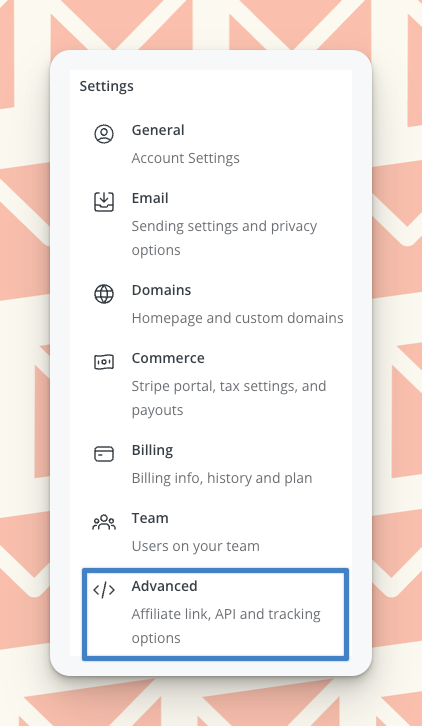
- Click Advanced in the left navigation.
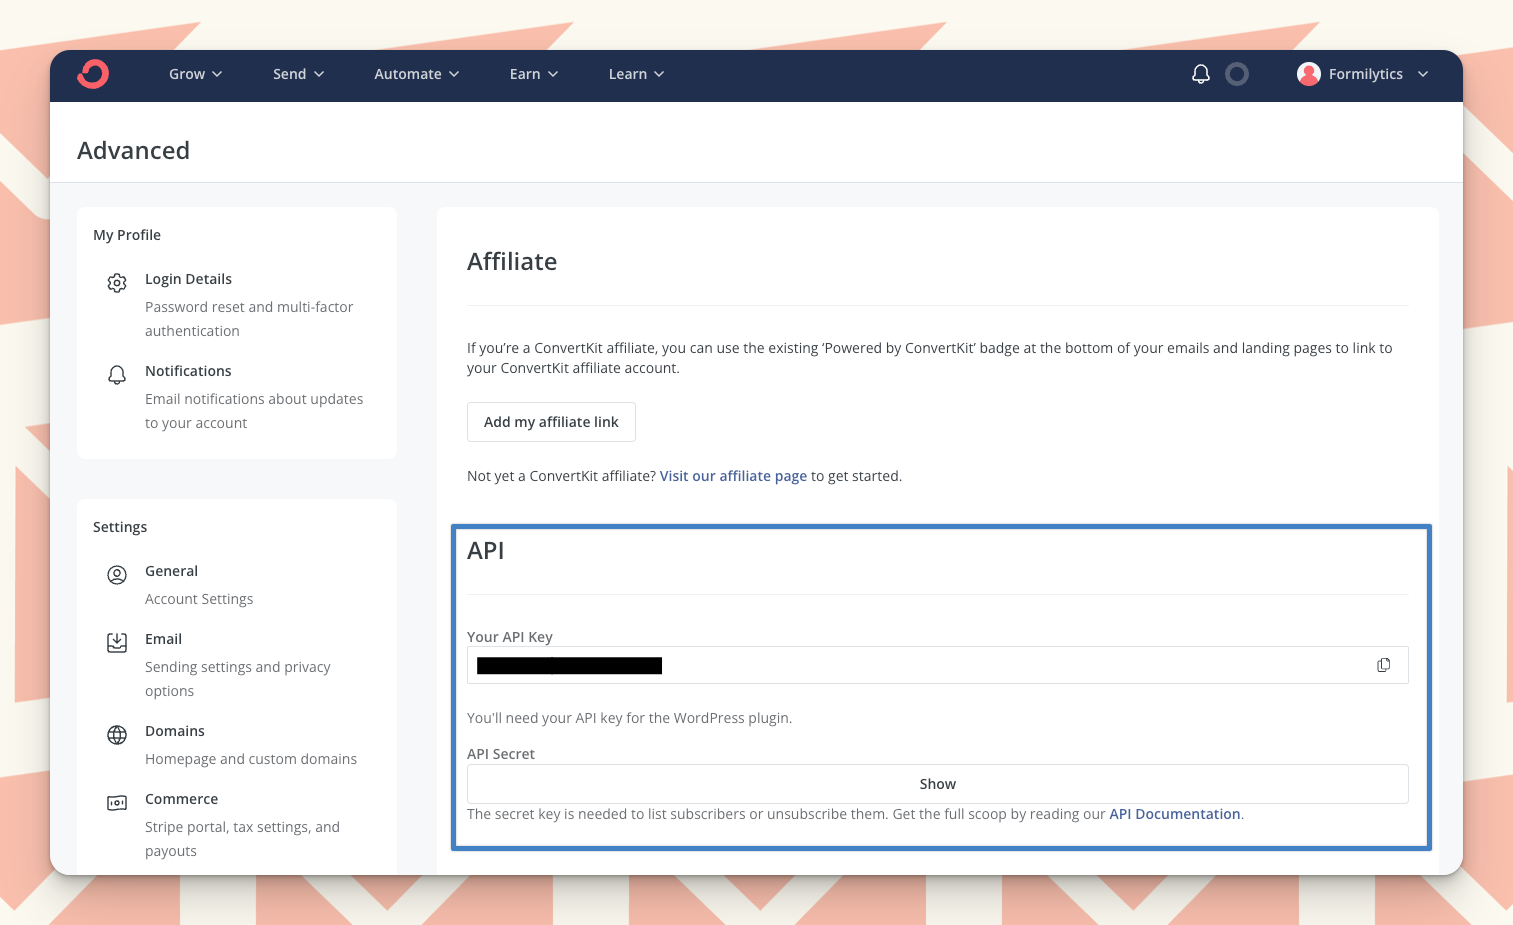
- Find your API Key under Your API Key and your secret API under API Secret (select Show).
Integrating BDOW! with ConvertKit
Follow these steps to integrate your BDOW! account with your ConvertKit account. Upon successfully integrating the two accounts, you’ll be able to send subscribers from your BDOW! forms to your ConvertKit account.
- Login to your BDOW! (formerly Sumo) account.
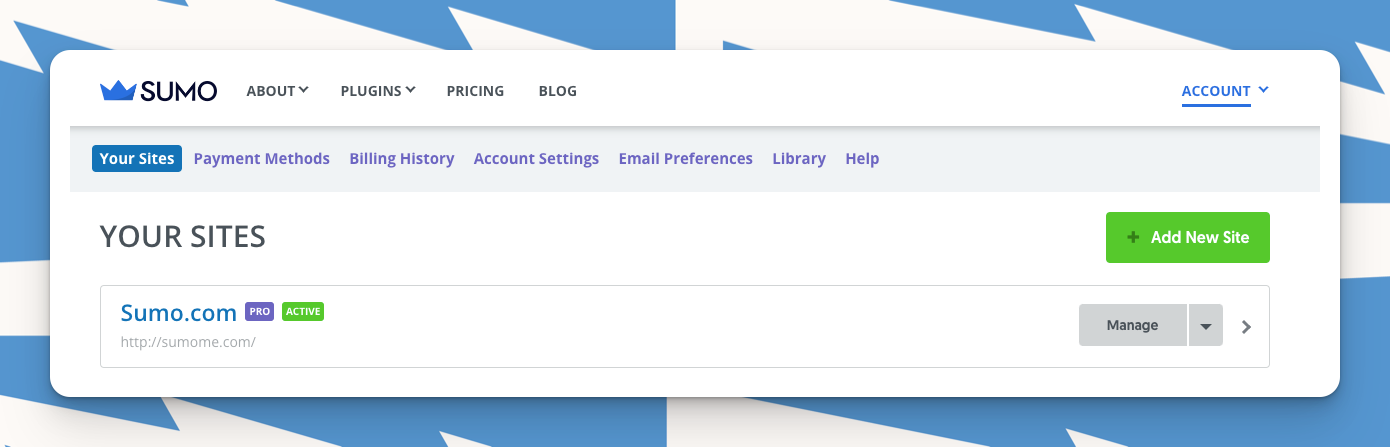
- Select the site you want to integrate with ConvertKit.
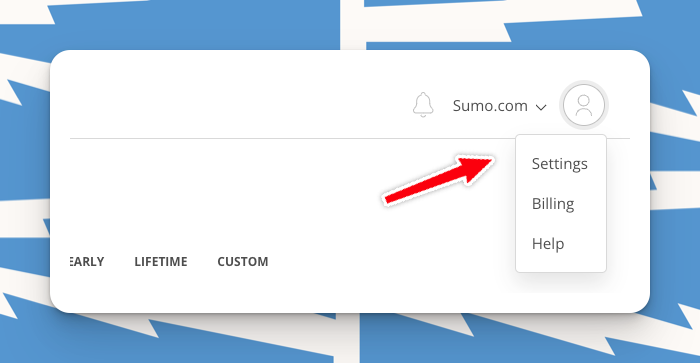
- Hover over your profile image in the top-right corner and select Settings.
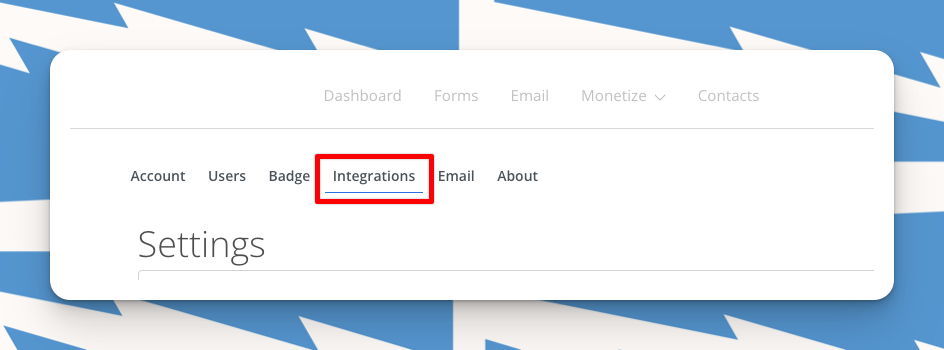
- Select Integrations in the sub-navigation.
- Find ConvertKit and select Connect.
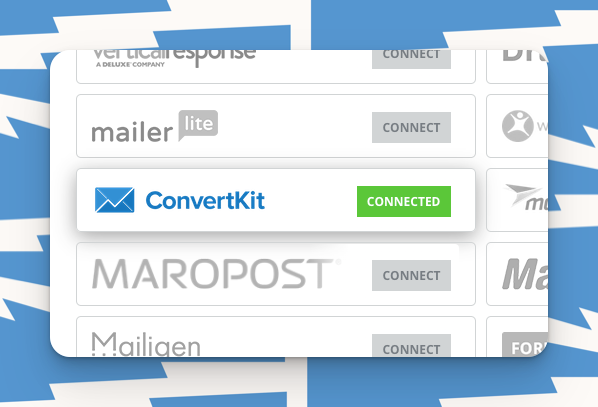
- Select Connect. After the integration is successfully connected, you can send subscribers to a ConvertKit Form or Sequence, and/or you can Tag subscribers.
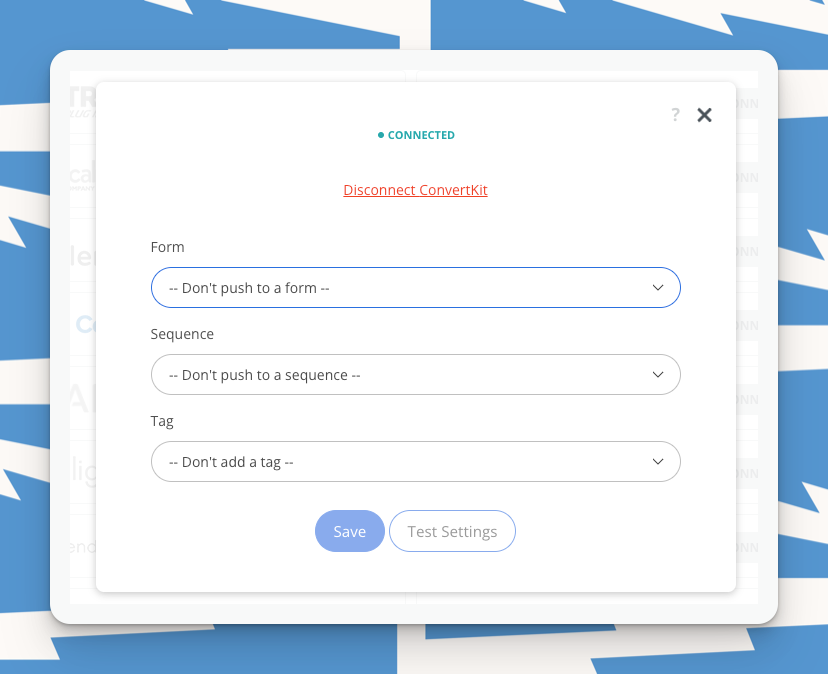
Please note: The settings you select in Integrations at the global level will be your forms’ default settings; however, you can override these at the form level as you set-up specific forms.
Have a question or need support? Send us an email at help@bdow.com.


Add A Comment
VIEW THE COMMENTS